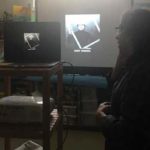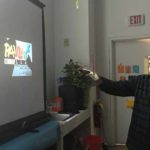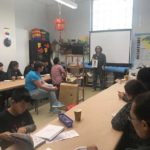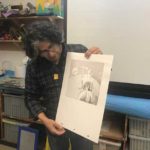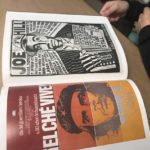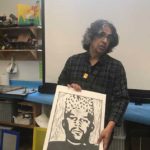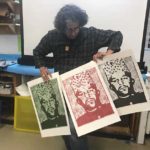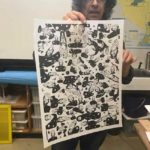
Nuestra primera sesión fue una clase introductoria a la historia de la serigrafía como arte y técnica.
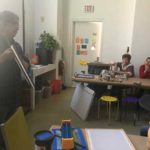
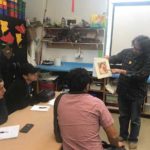
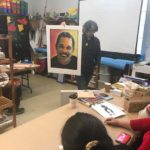
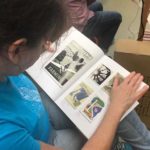
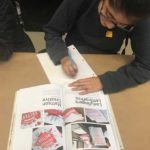
Además, vimos los materiales a utilizar las características y cualidades de los mismos al momento de utilizarlos. Así mismo el maestro Alex, nos dio muchos consejos útiles acerca de cómo emplear mejor los materiales a utilizar.
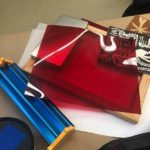
Por ejemplo: con relación a las mallas serigráficas tenemos amarillas y blancas. Cuando apliquemos la emulsión fotosensible a la malla serigrafica, deberemos aplicar 1 capa en la malla amarilla y 2 capas la blanca (una en cada lado). Podemos utilizar la emulsión serigrafica vieja para bloquear la malla.
Además el maestro nos mencionó que no es necesario gastar mucho dinero en implementar un taller; ya que podemos armar sistemas de impresión básicos y económicos en casa. Además nos aconseja no comprar impulsivamente materiales serigráficos.
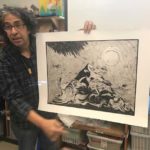
Para finalizar, el maestro nos dijo que de los errores vamos a prender también, y que ahora los alumnos van a usar más la rasqueta para imprimir y van a empezar a hacer solos sus trabajos serigráficos.
Notas importantes:
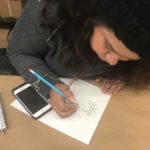
- Tarea para la próxima sesión: 3 diciembre, hacer bocetos en papeles translucidos 8×10 ’’
Tenemos varias opciones de hacer bocetos:
- Podremos utilizar Sharpies de color negro.
- Tinta china negra.
- Podremos imprimirlos directamente de la impresora inkjet, en un papel que no sea satinado. En papel absorbente, humedecemos el papel con aceite de bebe y lo dejamos secar de una noche 24 horas.
- Podemos utilizar imágenes cortadas a mano en cartulina negra.
- Radiografías también pueden servir.
Por favor recuerden que No tendremos clase el domingo 26 de noviembre por celebrarse el día de Acción de Gracias. Reanudaremos nuestras clases el domingo 3 de diciembre.
Our first session was an introductory class about the silkscreen’s history as art and technique.
We also saw the materials that we are going to use in this workshop, the characteristics and qualities of them. Also the teacher Alex, gave us many useful tips on how to best use the materials to use.
For example: in relation to silk screens we have yellow and white colors. When we apply the photosensitive emulsion to the silkscreen , we will have to apply 1 layer on the yellow one and 2 layers on top of the white one (one in each side). We can use the old serigraphic emulsion to block the silkscreen.
In addition, the teacher mentioned that it is not necessary to spend a lot of money to implement our place to work; due we can build basic and economic printing systems at home. He also advises us not to buy screen printing materials impulsively.
Finally, the teacher told us that we are going to learn from our mistakes too. Also that in this workshop about advanced silkscreen technique the students are going to use the squeegee often to print and they will start doing their silkscreen art works by themselves.
Important notes:
- Homework for the next session: December 3, make sketches on translucent papers 8×10 ”
We have several options to make sketches:
- We can use Sharpies of black color.
- Black Chinese ink.
- We can print them directly from the inkjet printer, on a paper that is not satin. On absorbent paper, moisten the paper with baby oil and let it dry overnight for 24 hours.
- We can use hand-cut images on black construction paper.
- X-rays can also be useful.
Please remember that we won’t have class on Sunday, November 26th to celebrate Thanksgiving. We will resume our classes on Sunday, December 3.