Queridos New NewYorkers:
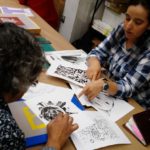
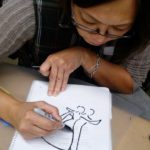
En esta segunda sesión, nuestro maestro Alex nos enseñó varias formas cómo poder realizar un diseño en la malla sin usar la opción fotográfica.
Tenemos varias opciones sencillas, rápidas y económicas:
Para cualquier opción a utilizar, siempre, deberemos colocar en los bordes de la malla y alrededor de nuestro diseño la cinta adhesiva: Block Duct Tape (filo azul).
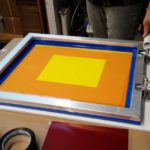
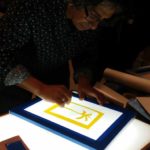
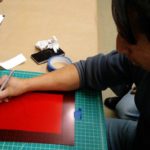
Opción 1: Mask-ease: vinilo adhesivo amarillo. Se puede usar como un esténcil. Cortaremos nuestro diseño a mano, para adherirlo a la malla y proceder directamente a aplicarla tinta e imprimir. Se puede conseguir en la tienda Blick.
Opción 2: Bloqueador: podemos usar el bloqueador líquido para cubrir (bloquear) en nuestra malla, las zonas que no queremos imprimir; así la tinta sólo pasara por donde está sin bloqueador imprimiendo solo nuestro diseño.
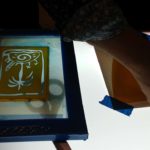
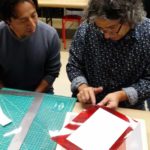
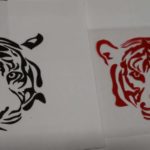
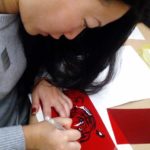
Opción 3: Rubilith: (rojo) este material nos permite hacer diseños que luego quemaremos en la malla con la emulsión fotosensible. Es por eso que si usamos esta Opción deberemos de dejar en rojo nuestro diseño, es decir lo que sí queremos imprimir. (Se hace lo opuesto que con el mask-easy amarillo). Por favor tener cuidado con esa diferencia.
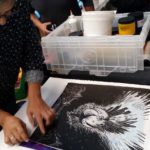
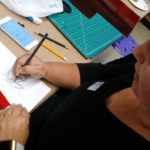
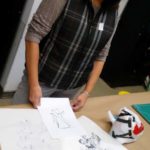
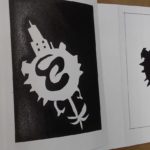
Opción 4: Papel simple: Cortar a mano un papel simple para hacer nuestro diseño, el cual nos servirá como bloqueador. Si deseamos también podremos usar el pedazo de papel que retiramos al cortar, para usarlo posteriormente, teniendo así diseños en negativo y positivo.
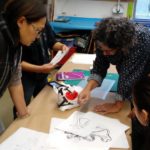
Así mismo nos mostró cómo preparar la malla serigrafía para que esté lista para aplicar la tinta e imprimir. Colocamos cinta azul a los bordes de la malla serigrafía para proteger y bloquear el paso de la tinta por donde no debe pasar. Debemos de considerar el tamaño de nuestro diseño y el tamaño de la rasqueta para dejar espacio suficiente para que pueda pasar con la tinta sin dificultad.
También nos demostró cómo preparar la emulsión fotográfica y como aplicarla sobre la malla. : La emulsión fotográfica viene la cual viene con un sensibilizador en polvo. El sensibilizador debe mezclarse con agua destilada y luego agregarse a la emulsión. Una emulsión preparada dura aproximadamente 3 meses.
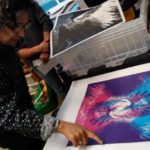
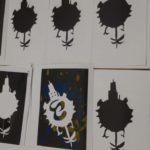
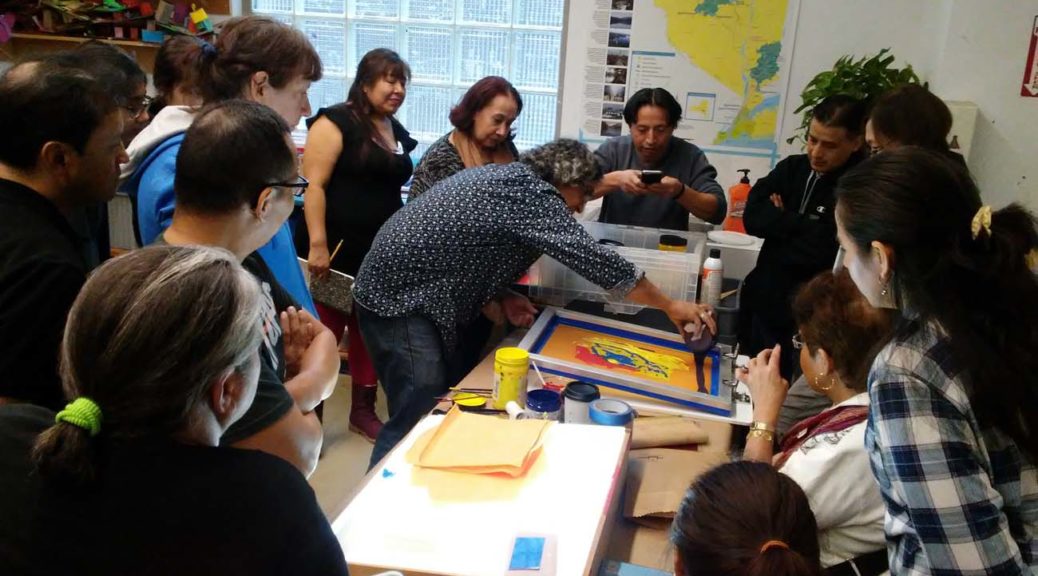
Finalmente el maestro procedió a mostrarnos diferentes formas de imprimir nuestro diseño en papel haciendo monotipias.
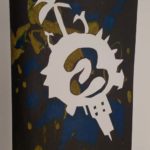
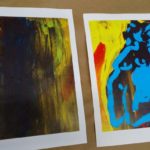
- Podemos usar la tinta directamente sobre la malla haciendo una composición de diferentes colores.
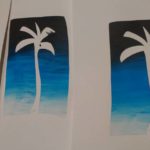
- Además podemos hacer una gradación de color: de más claro al oscuro, mezclando dos o tres colores en la misma malla serigráfica, creando un degrade decolores.
Les queremos felicitar y agradecer mucho por el interés y dedicación a este taller, así como también su activa participación durante las clases!
Dear NewYorkers:
In this second session, our teaching artist Alex showing several ways on how to make a design on the mesh without using the photographic option, using several easy, fast and economical options: For any option, always, you must place the adhesive tape at the borders of the mesh and in our design: Insulating tape for blocks (blue edge).
Option 1: Mask-ease: yellow adhesive vinyl. It can be used as an isolate. We will cut our design by hand, to adhere it to the mesh and proceed directly to the ink and print. You can get it at Blick store.
Option 2: Blocker: we can use the liquid blocker to cover (block) in our mesh, the areas that we do not want to print; so the ink only goes through where it is without a blocker printing only our design.
Option 3: Rubilith: (red) this material allows us to make designs that we will then burn in the mesh with the photosensitive emulsion. That is why we use this option we must leave our design in red, that is, what we do want to print. (The opposite is done with the easy-yellow mask). Please be careful with that difference.
Option 4: Simple paper: Cut by hand a simple paper to make our design, which will serve as a blocker. If we wish we can also use the piece of paper that we remove when cutting, to use it later, having designs in negative and positive.
Also, our teacher showed us how to prepare the screen printing mesh so that it is ready to apply ink and print. We place blue tape on the edges of the silkscreen mesh to protect and block the passage of ink where it should not pass. We must consider the size of our design and the size of our squeegee for leaving enough space for you to pass with the ink without any difficulty.
He also showed us how to prepare the photographic emulsion and how to apply it on the mesh. The photographic emulsion comes which comes with a powder sensitizer. The sensitizer should be mixed with distilled water and then added to the emulsion. A prepared emulsion lasts about 3 months.
Finally the teacher proceeded to show us different ways to print our design on paper making monotypes.
1. We can use the ink directly on the mesh making a composition of different colors.
2. We can also make a gradation of color: from lighter to dark, mixing two or three colors in the same silk screen, creating a degrade color.
We would like to congratulate you and thank you very much for your interest and dedication to this workshop, as well as your active participation during the classes!