En esta cuarta sesión de nuestro taller de Serigrafía, preparamos las mallas amarillas para aplicar la emulsión fotosensible y proceder a exponerlas a la luz para quemar nuestro diseño en la malla.
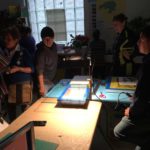
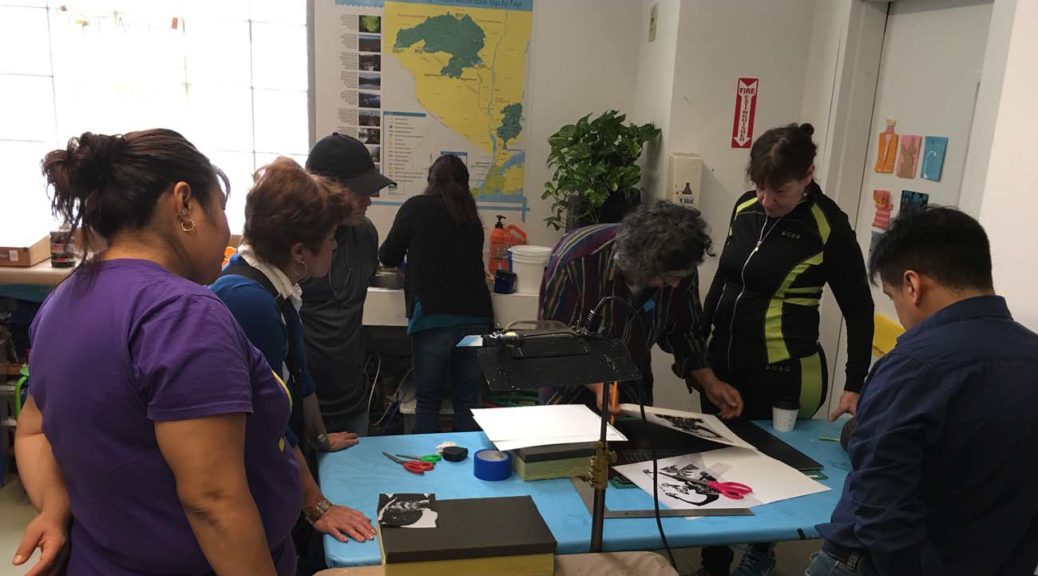
El maestro Alex, instalo la estación para exponer las mallas a la luz. Teníamos una lámpara de 750 watts, y una distancia de la misma a la malla de 14’’. Entonces, como estamos usando la misma emulsión foto sensible que utilizamos la clase anterior. Y sabemos que para esa altura y esa potencia de luz, el tiempo que debemos de exponer la malla para que quede bien expuesta, será de 4 minutos.
Procedimos a exponer las mallas en nuestra estación de luz.
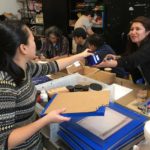
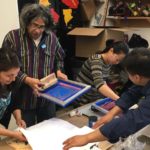
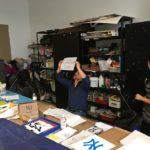
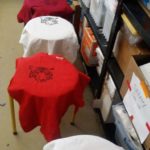
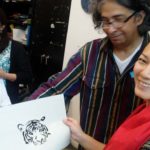
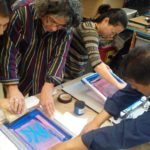
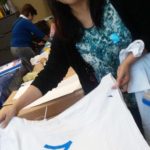
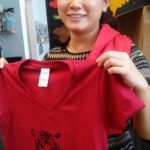
Mientras tanto, los alumnos que habían terminado de preparar sus mallas de color blanco, la clase anterior, en esta clase procedieron a imprimir sus diseños en tela y papel.
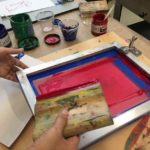
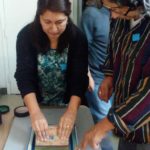
Primero deberemos de colocar unas guías de tape, en forma de escuadra en las esquinas salientes de nuestro papel, para ubicar el papel a imprimir en el mismo lugar siempre. Esto nos ayudara mucho, cuando tengamos que imprimir varios colores en el mismo papel.
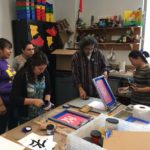
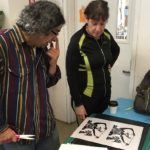
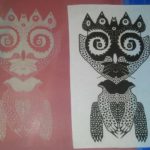
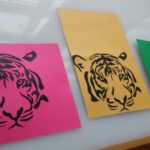
Los alumnos hicieron varias exploraciones con las tintas al momento de imprimir en papel. Imprimieron monotipias con diferentes colores, previamente se tienen que hacer copias de prueba, para verificar que la tinta está pasando correctamente a través de la malla. Además las impresiones de prueba nos sirven, para saber si la presión que estamos ejerciendo sobre la rasqueta es la adecuada para la impresión y también para evitar manchar nuestro papel con alguna filtración de la tinta indeseada. Esto lo podremos solucionar colocando un tape encima de la malla, por donde este escapando la tinta.
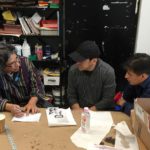
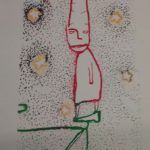
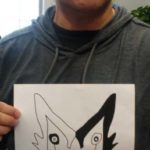
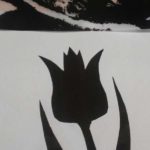
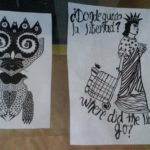
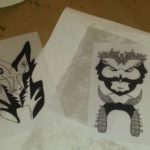
Algunos alumnos, desarrollaron más diseños, directamente en el rubilith rojo, y otros en papel blanco, aplicando posteriormente aceite de bebe, logrando asi la calidad del velum, o papel traslucido que se utiliza para hacer los diseños y posteriormente exponerlos a la luz para que queden quemados en nuestra malla serigrafica.
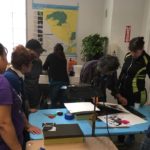
Nuevamente, les agradecemos por el trabajo en equipo, apoyándose mutuamente al momento de imprimir, así como también el gran trabajo individual.
Felicitaciones buen trabajo!
In this fourth session of our Serigraphy workshop, we prepare the yellow meshes to apply the photosensitive emulsion and proceed to expose them to the light to burn our design on the mesh.
Our teacher Alex, installed the station to expose the meshes to light. We had a 750 watt lamp, and a distance of the same to the 14 “mesh.
Then, as we are using the same photo sensitive emulsion that we used the previous class. And we know that for that height and that power of light, the time that we must expose the mesh so that it is well exposed, will be 4 minutes. We proceeded to expose the meshes in our light station.
Meanwhile, the students who had finished preparing their white silk screens from the previous class, proceeded to print their designs on canvas and paper.
First we will have to place tape guides, in the form of a square on the projecting corners of our paper, to locate the paper to be printed in the same place at all times. This will help us a lot, when we have to print several colors on the same paper.
The students did several variations with the inks at the time of printing on paper. They printed monotypes with different colors, previously they have to make test copies, to verify that the ink is correctly passing through the mesh. In addition, the test impressions are useful to know if the pressure we are exerting on the scraper is adequate for printing and also to avoid staining our paper with any filtering of the unwanted ink. We can solve this by placing a tape over the mesh, where the ink is leaking.
Some students developed more designs, directly on the red rubilith, and others on white paper, subsequently applying baby oil, thus achieving the quality of the velum, or translucent paper that is used to make the designs and then expose them to the light so that are burned in our serigraphic mesh.
Again, we thank you for the teamwork, supporting each other at the time of printing, as well as the great individual work.
Congratulations, well done!