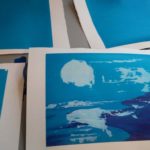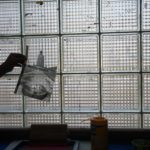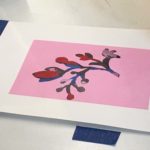
En esta semana 6 del Taller de Serigrafía, iniciamos haciendo unos fondos en diversos colores, sobre los cuales, posteriormente podremos imprimir nuestros diseños.
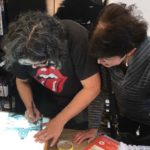
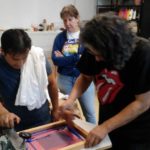
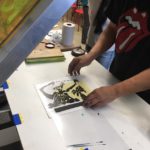
Usamos varias técnicas y materiales nuevos para hacer nuestros diseños y quemarlos en las mallas serigrafías.
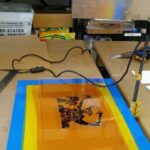
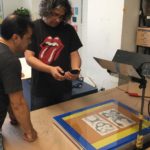
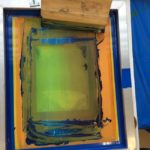
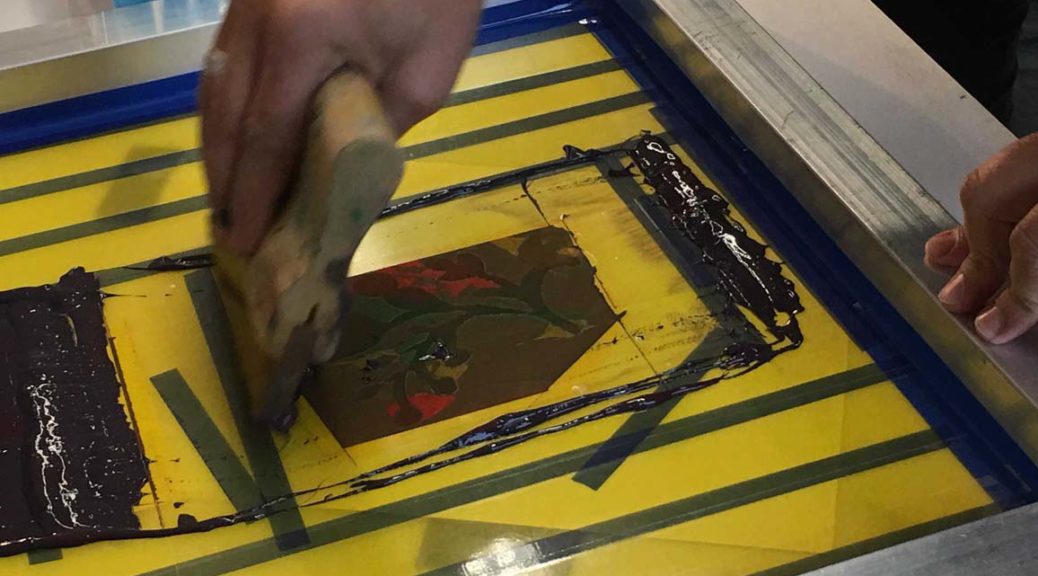
Para cualquier opción a utilizar, siempre deberemos colocar en los bordes de la malla y alrededor de nuestro diseño la cinta adhesiva: Block Duct Tape (filo azul).
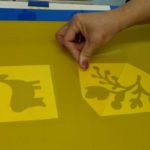
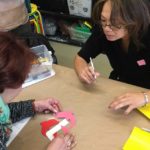
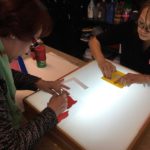
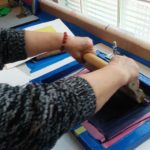
- Mask-ease: vinilo adhesivo amarillo. Se puede usar como un esténcil. Cortaremos nuestro diseño a mano, para adherirlo a la malla y proceder directamente a aplicarla tinta e imprimir. Se puede conseguir en la tienda Blick.
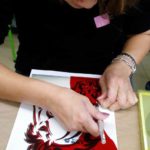
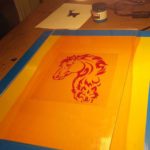
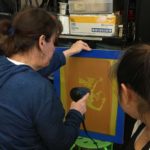
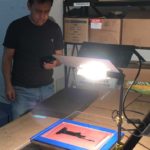
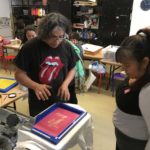
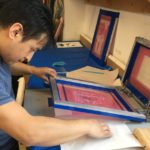
- Rubilith: (rojo) este material nos permite hacer diseños que luego quemaremos en la malla con la emulsión fotosensible. Es por eso que si usamos esta Opción deberemos de dejar en rojo nuestro diseño, es decir lo que sí queremos imprimir. (Se hace lo opuesto que con el mask-easy amarillo). Por favor tener cuidado con esa diferencia.
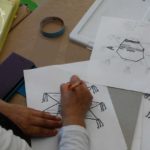
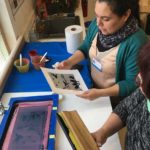
- Papel simple: cortamos a mano un papel simple para hacer nuestro diseño, el cual nos servirá como bloqueador. Si deseamos también podremos usar el pedazo de papel que retiramos al cortar, para usarlo posteriormente, teniendo así diseños en negativo y positivo.
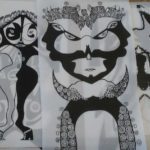
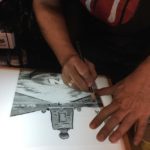
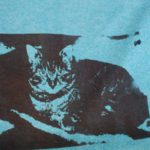
- Transparencias impresas: con imágenes fotográficas. Se puede llevar el archivo de la foto que queremos imprimir a tiendas especializadas de impresión como Staples. El servicio le costar aprox. $ 2 la transparencia.
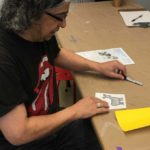
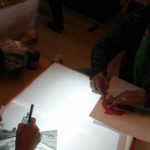
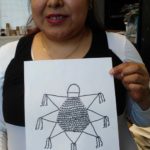
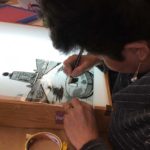
- Transparencias con dibujos hechos a mano: Para lo cual usamos tinta china, Sharpie negro, y/o lápiz litográfico.
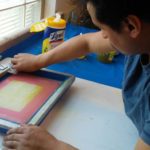
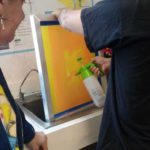
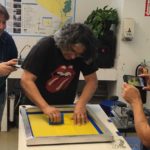
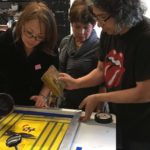
Usamos Mask-ease (vinilo adhesivo amarillo) para bloquear la malla serigrafía y poder dejar que la tinta pasa solo por nuestro diseño. Se puede tapar la malla con tape transparente de borde azul, pero no con masking tape ni con cinta azul, porque tienen demasiada textura y no dejan correr la rasqueta al momento de imprimir.
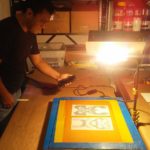
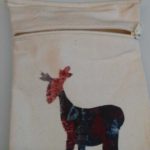
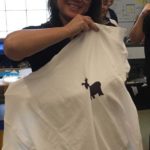
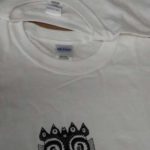
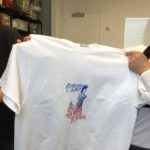
En esta sesión, además, imprimimos sobre tela (camisetas de algodón), además del papel que ya habíamos usado en sesiones anteriores.
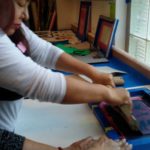
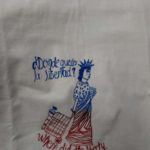
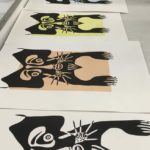
Sobre la tela, hicimos monotipias (una sola copia – copias únicas). Para ello aplicamos libremente sobre la malla diferentes colores de tinta. Luego, aplicamos un color con la rasqueta, el cual se mezclara con los diversos colores aplicados sobre nuestro diseño.
Cuando la impresión sobre tela este totalmente seca, se procederá al fijado de la tinta sobre la tela. Este paso final es muy importante cuando imprimimos sobre camisetas, o cualquier tela que se vaya a lavar y a volver a usar.
Fijado; por el lado de atrás de la tela, se procederá a pasar la plancha caliente, por unos minutos sobre el diseño. Luego de esto, la camiseta estará lista para usar.
In this week 6 of the Silk Screen Workshop, we started printing on paper backgrounds in different colors; to print our designs over them.
Also, we use several new techniques and materials to make our designs and burn them on our silkscreens
- Mask-ease: yellow adhesive vinyl. It can be used as a stencil. We will cut our design by hand, to adhere it to the mesh and proceed directly to apply it ink and print. You can get it at the Blick store
- Rubilith: (red) this material allows us to make designs that we will then burn in the mesh with the photosensitive emulsion. That is why if we use this option we must leave our design in red, that is, what we want to print. (The opposite is done with the yellow mask-easy). Please be careful with that difference.
- Simple paper: We cut by hand a simple paper to make our design, which will serve as a blocker. If we wish, we can also use the piece of paper that we remove when cutting, to use it later, thus having designs in negative and positive.
- Printed transparencies: with photographic images. You can take a USB with your design-photo to specialized printing stores such as Staples. The service will cost you approx. $ 2 each transparency.
- Transparencies with handmade drawings: For which we use Chinese ink, black Sharpie, and / or lithographic pencil.
Remember always we have to put Block Duct Tape (blue edge) on the edges of the silk screen and around our design the adhesive tape.
In this session: we use Mask-ease (yellow adhesive vinyl) to block the silkscreen mesh and be able to let the ink pass through our design only. You can cover the mesh with a transparent tape with a blue border, but not with a masking tape or with blue tape, because they have too much texture and do not let the squeege run smoothly when we need to print .
We printed on canvas (cotton t-shirts), in addition to the paper we had already used in previous sessions. On the canvas, we made monotypes (a single copy – unique copies); to make monotypes we apply different ink colors freely on the silk screen, over our design. Then, we apply a big amount of color with the squeegee, which will be mixed with the different colors applied to our design.
When the ink on fabric is completely dry, the ink will be fixed on the fabric. This final step is very important when we print on shirts, or any fabric that is going to be washed and used.
Set; on the back side of the fabric, a warm iron will be passed , for a few minutes over the design. After this, the shirt will be ready to use.