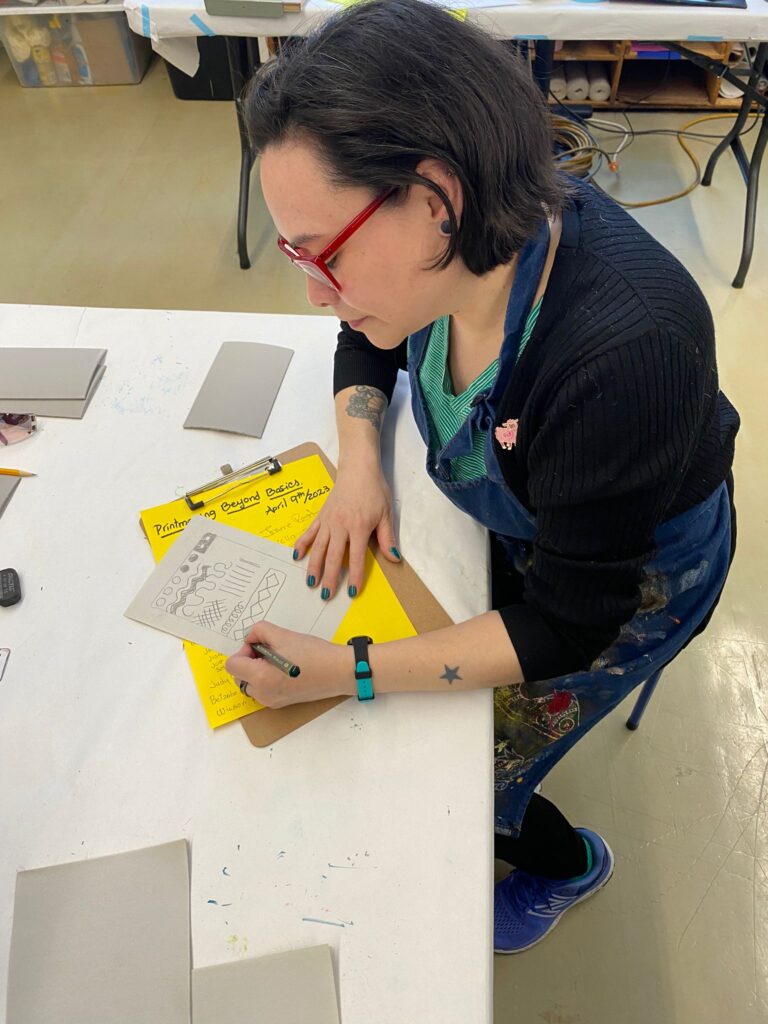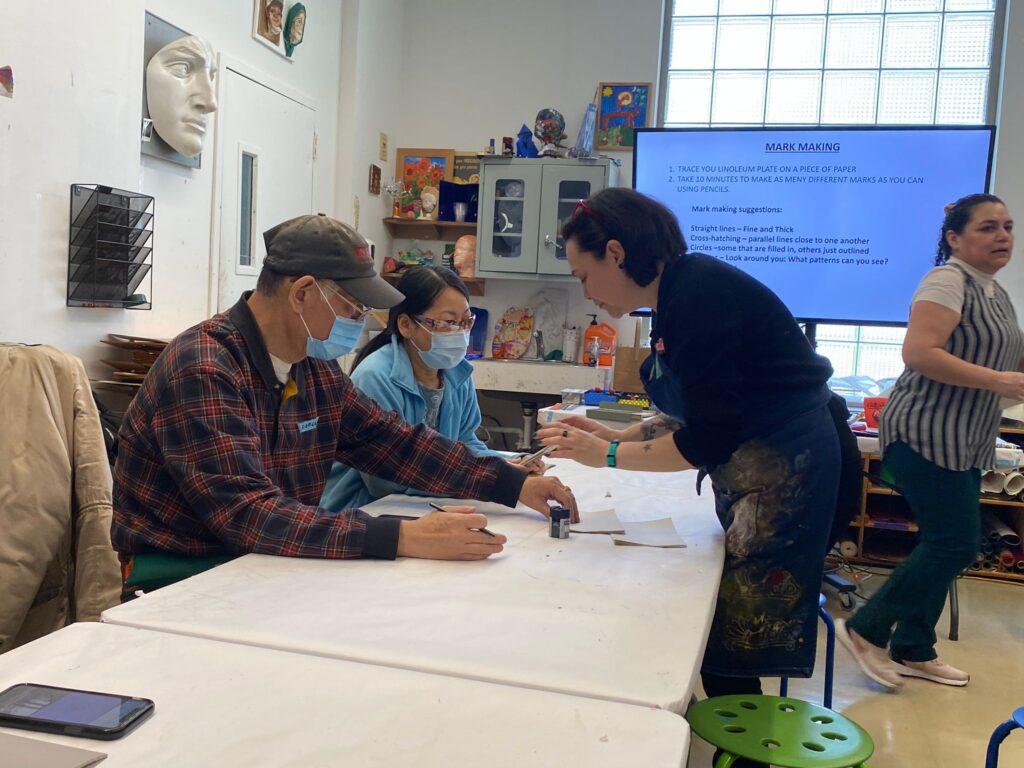
MARK MAKING ON LINOLEUM – April 9th, 2023.
After a break, we met again for printing! We all were very excited. Our instructor showed us some samples of block printing to inspire us. We saw woodcuts and linocuts made by Pablo Picasso, Edward Munch, and Albrecht among others.
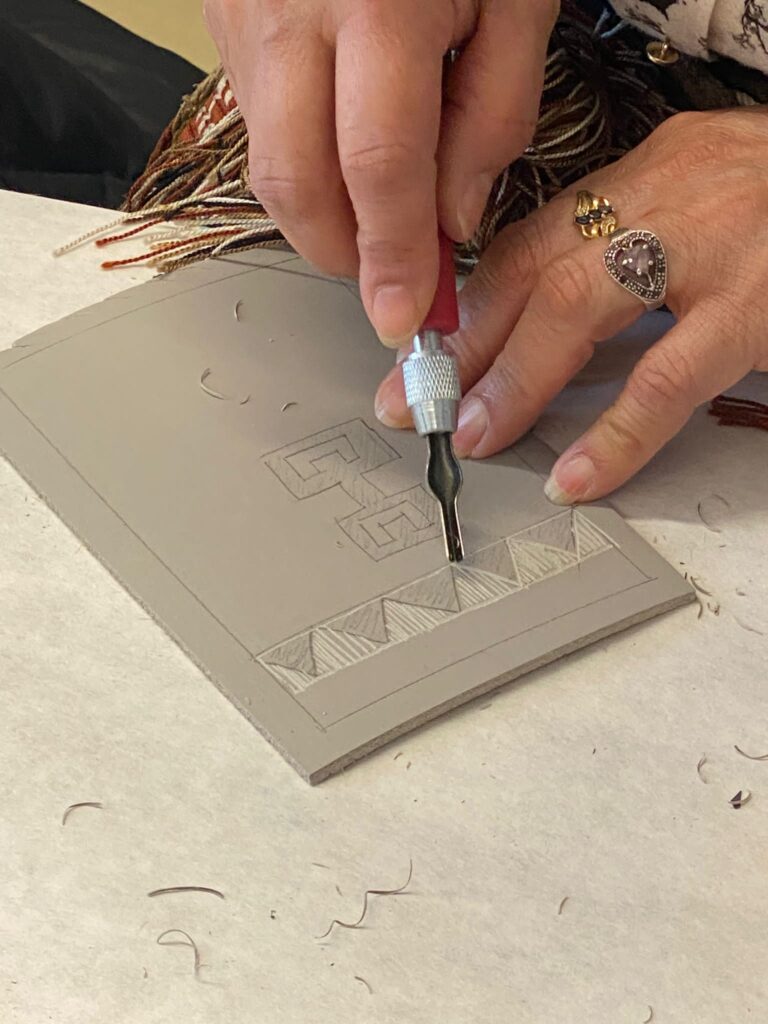
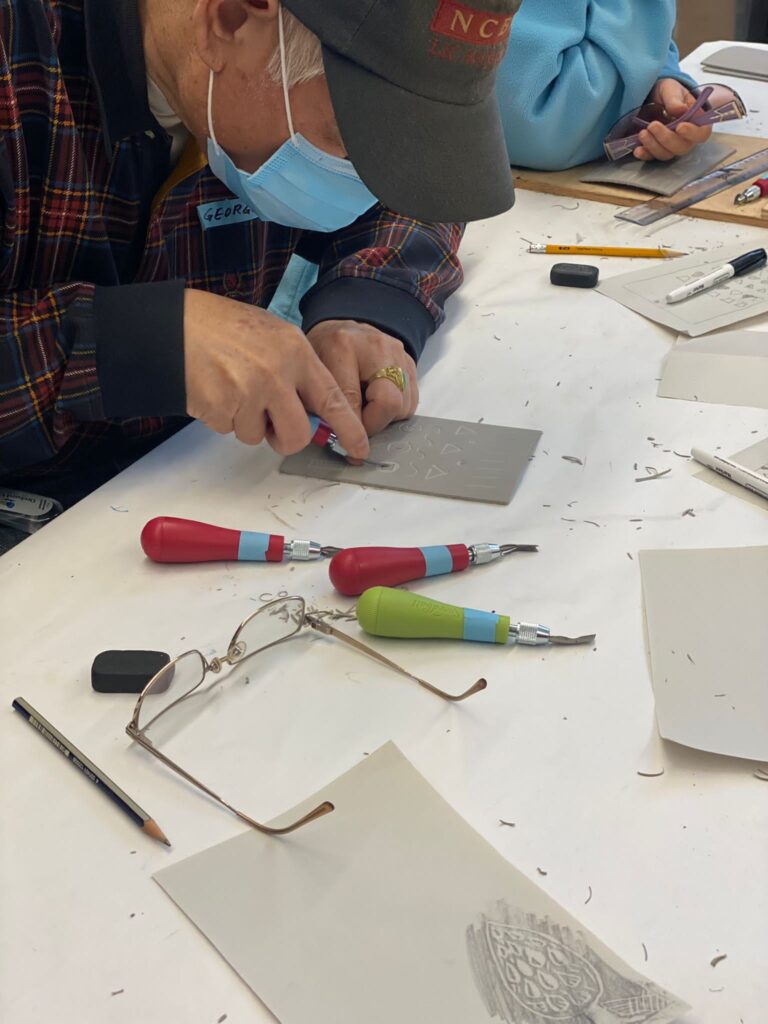
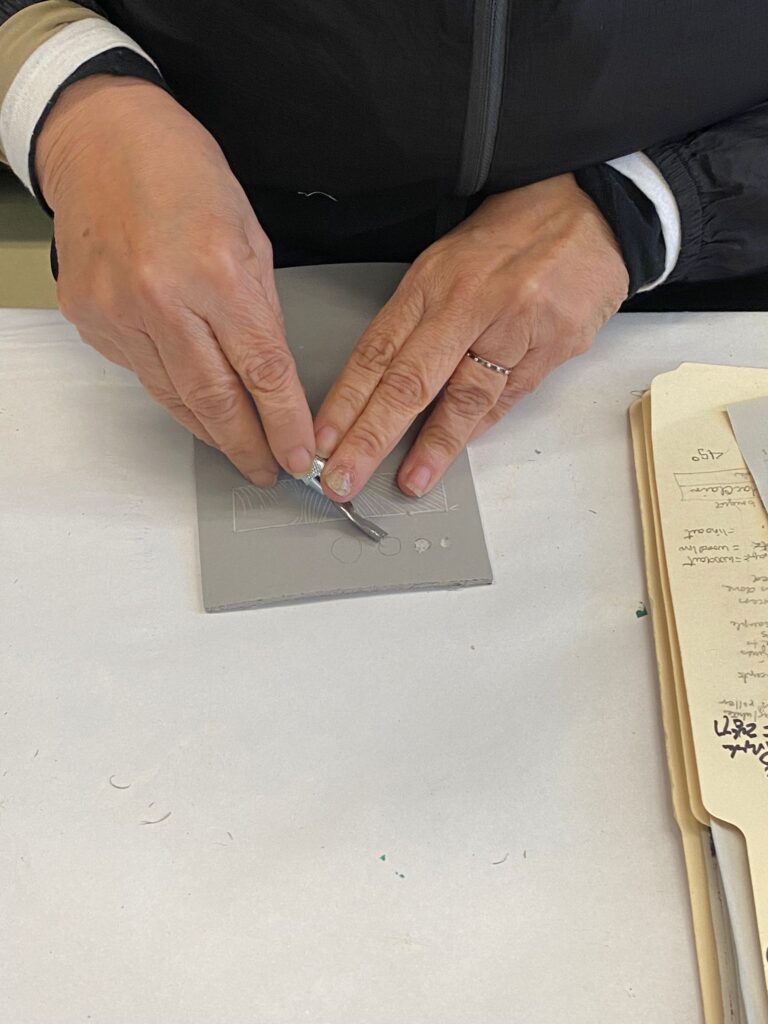
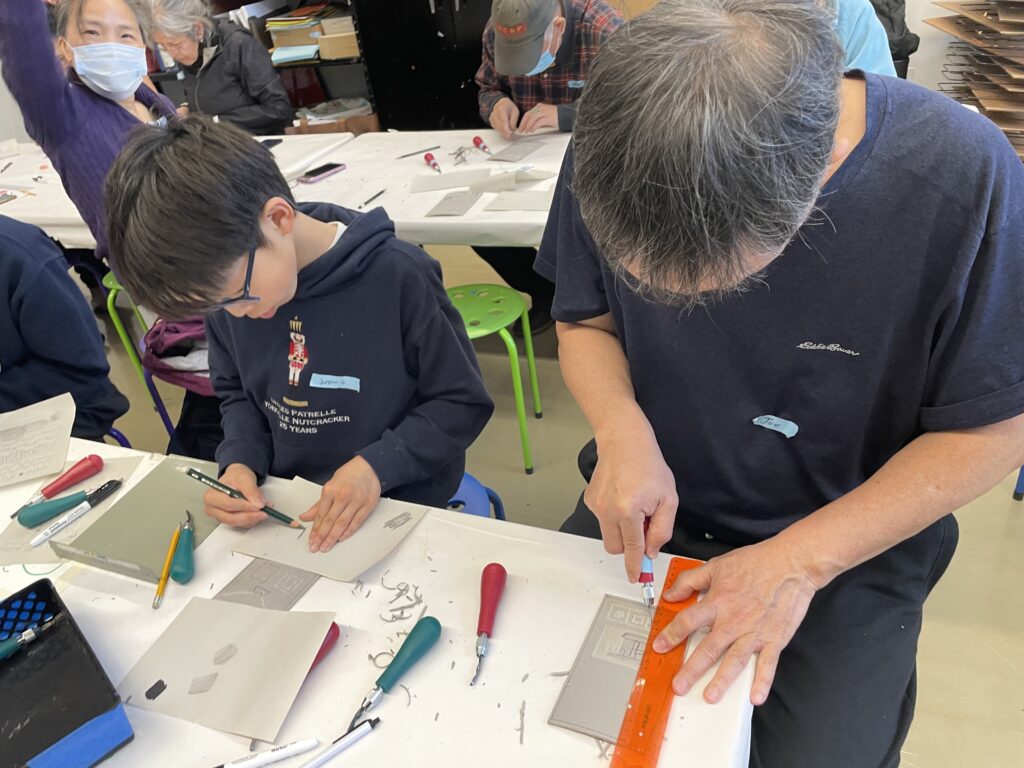
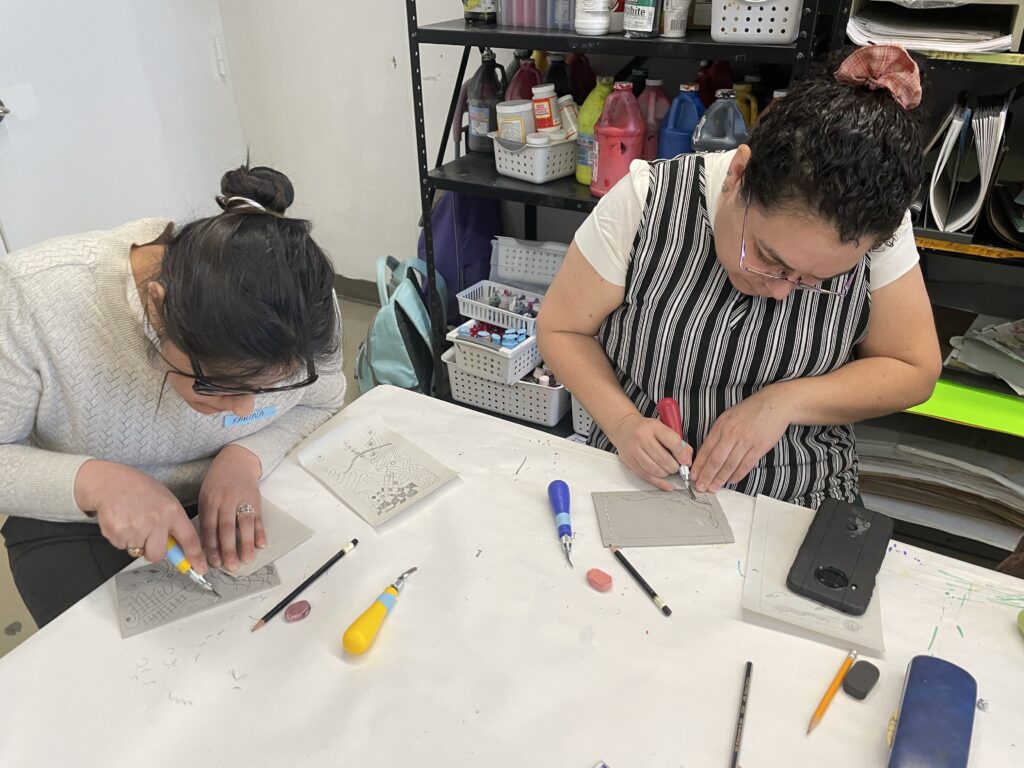
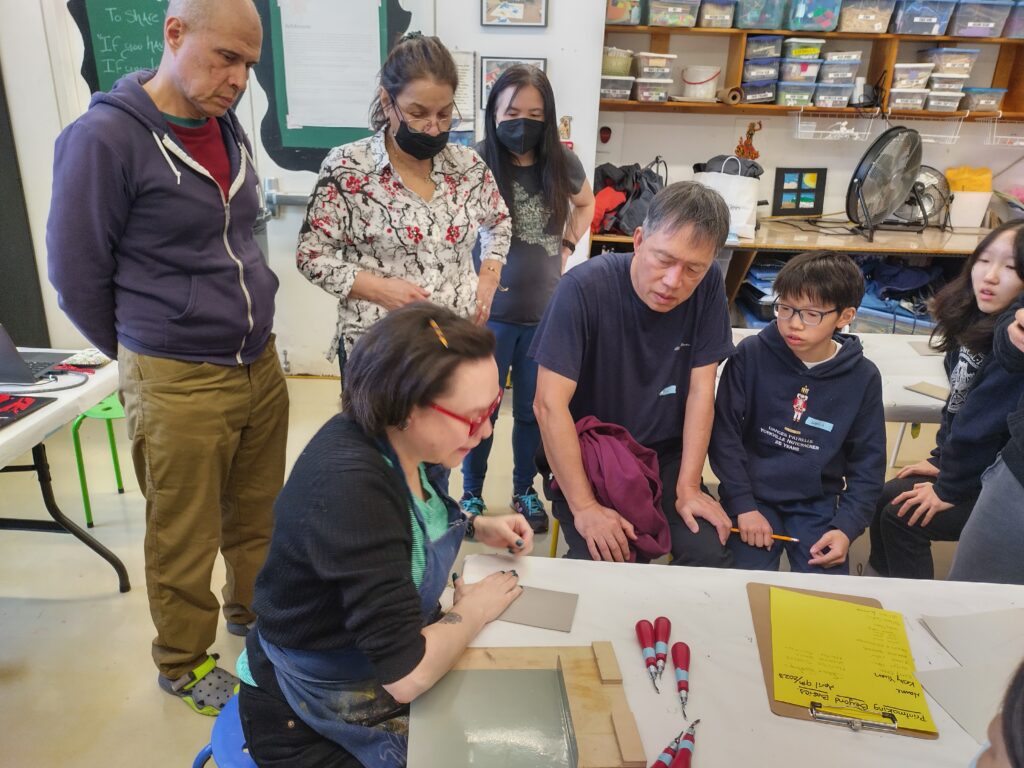
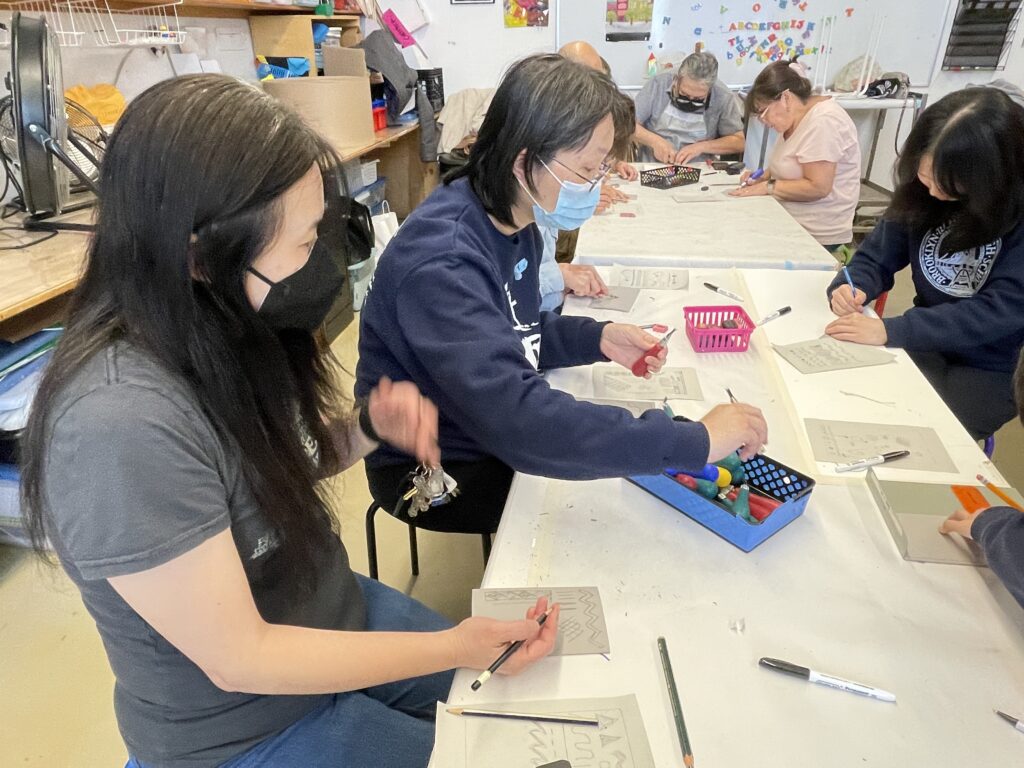
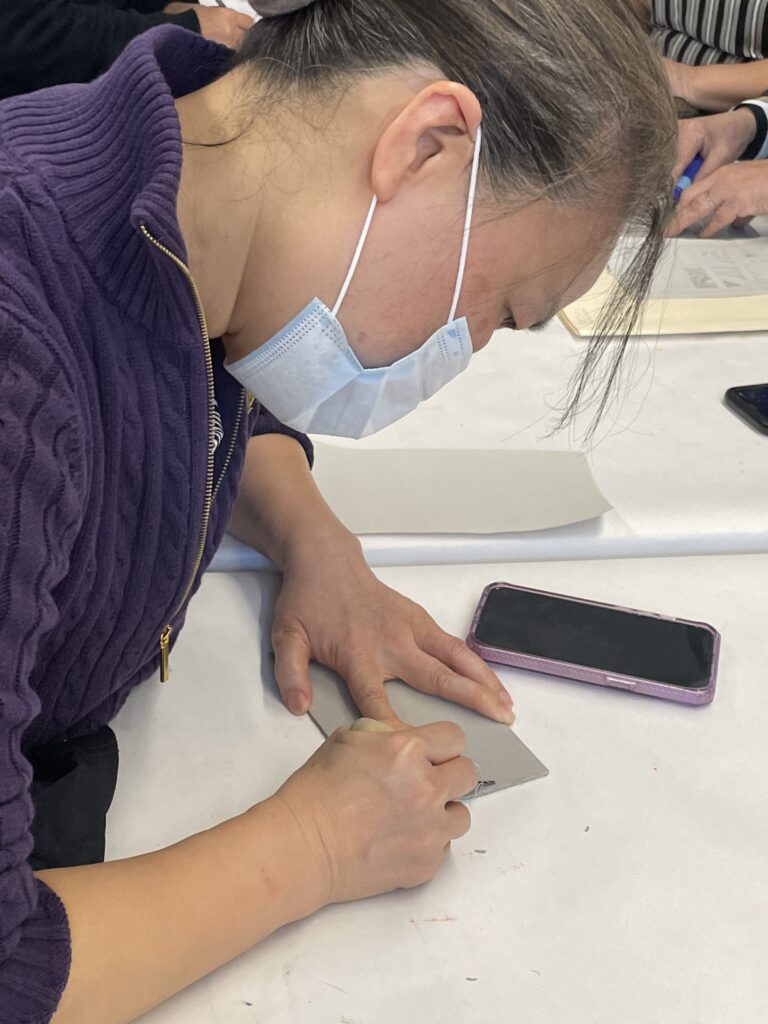
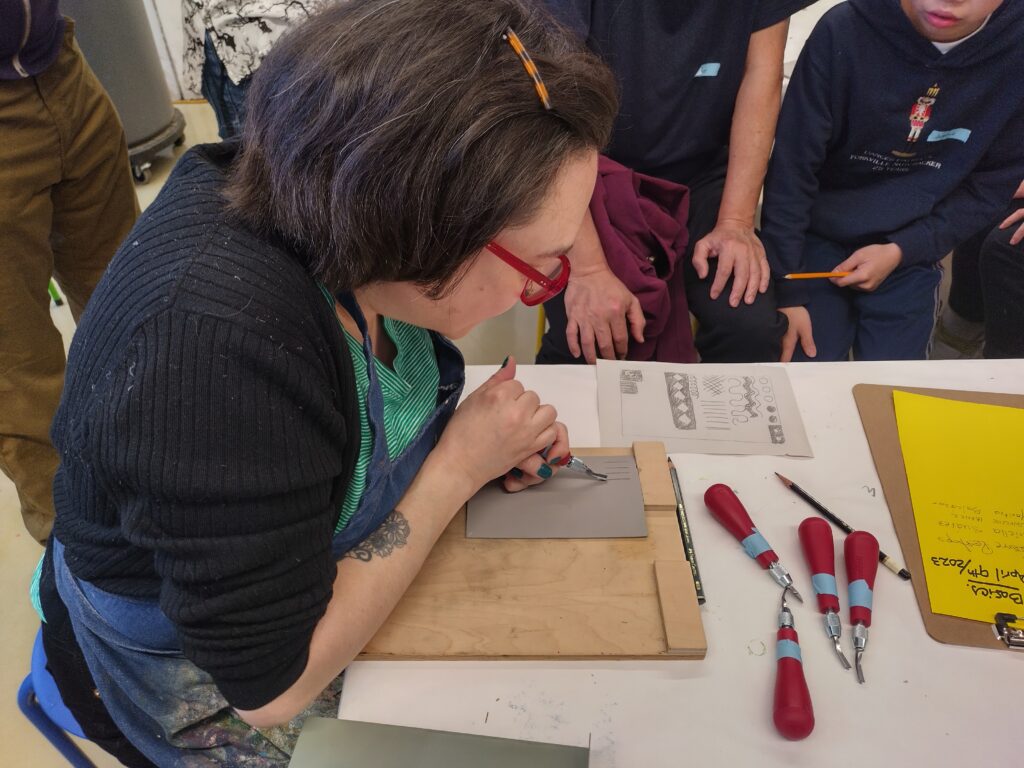
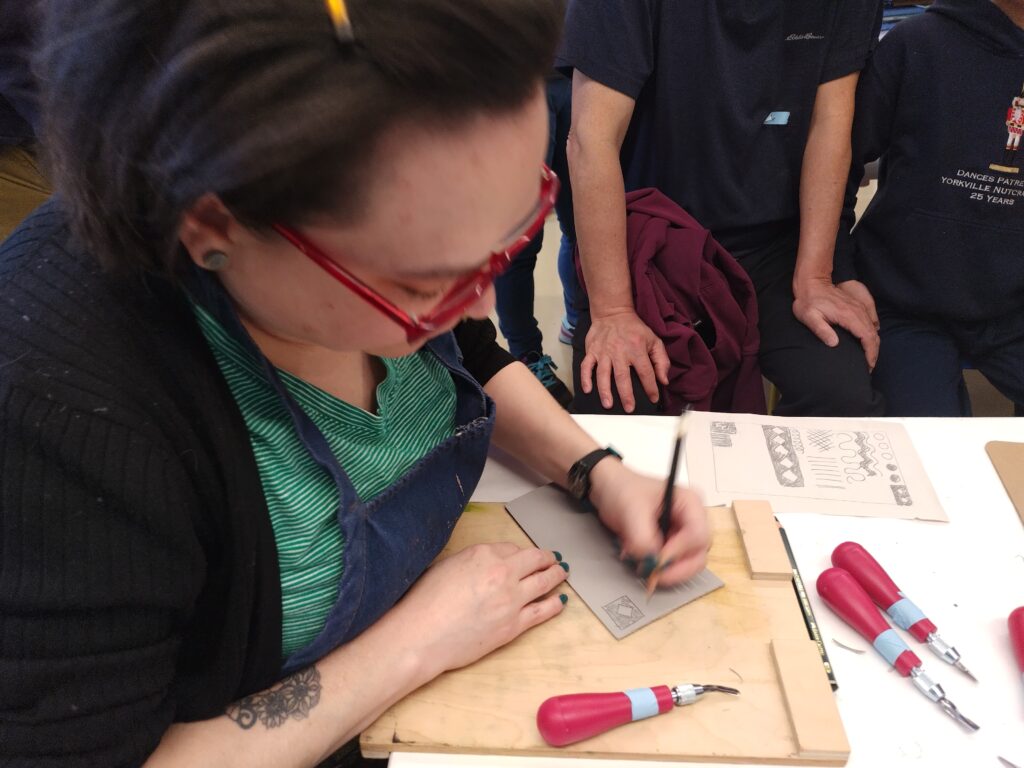
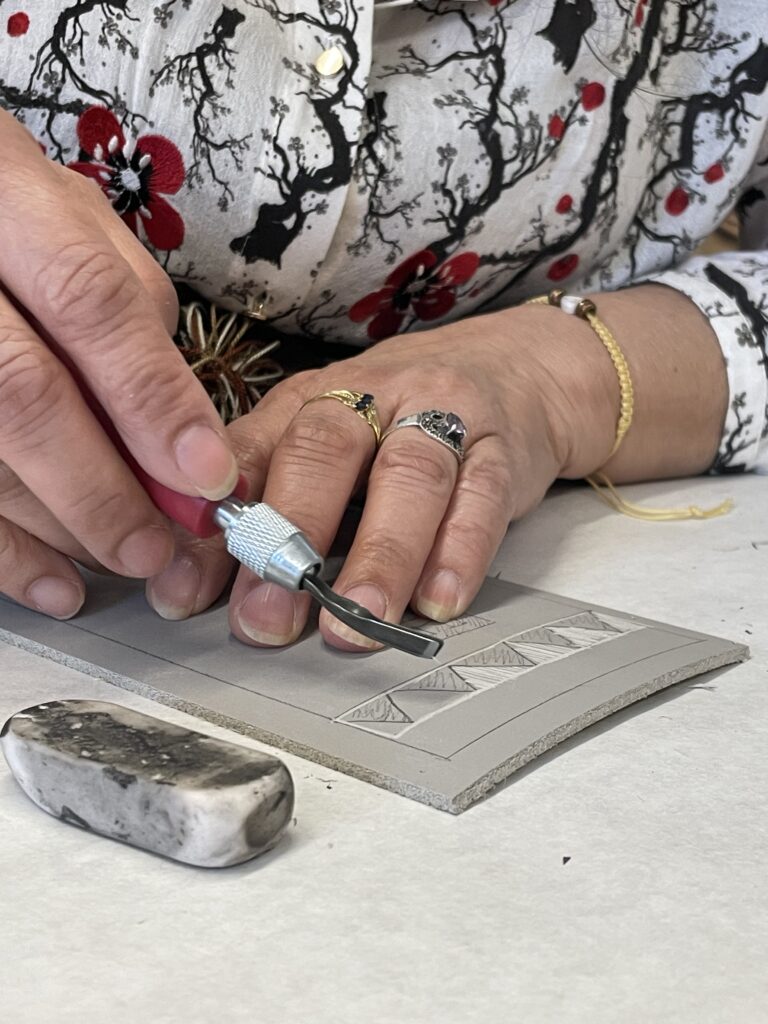
After that, Michelle demonstrated how to carve linoleum plates. Once again She emphasized safety due to the fact that we were working with sharp tools on a hard surface.
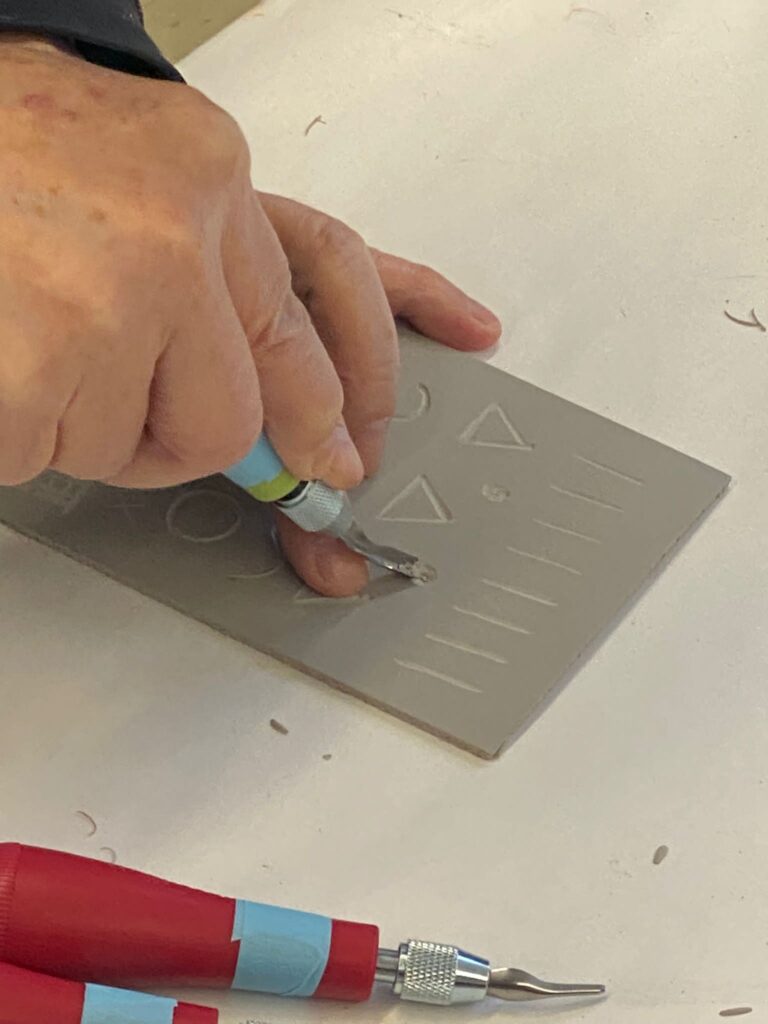
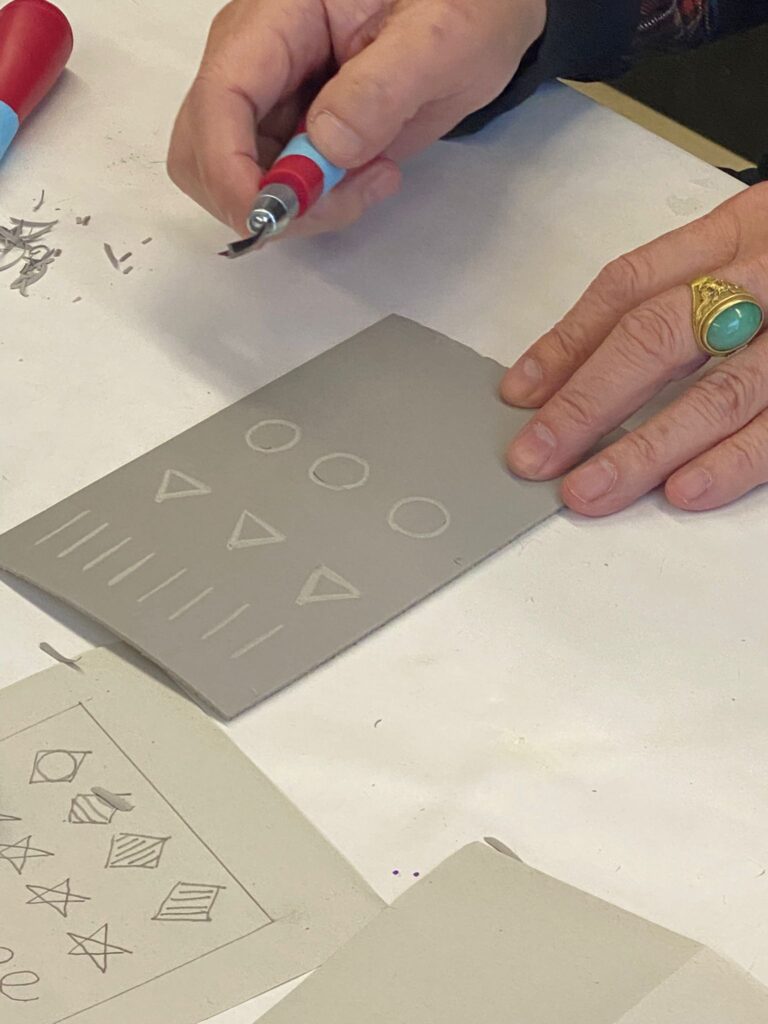
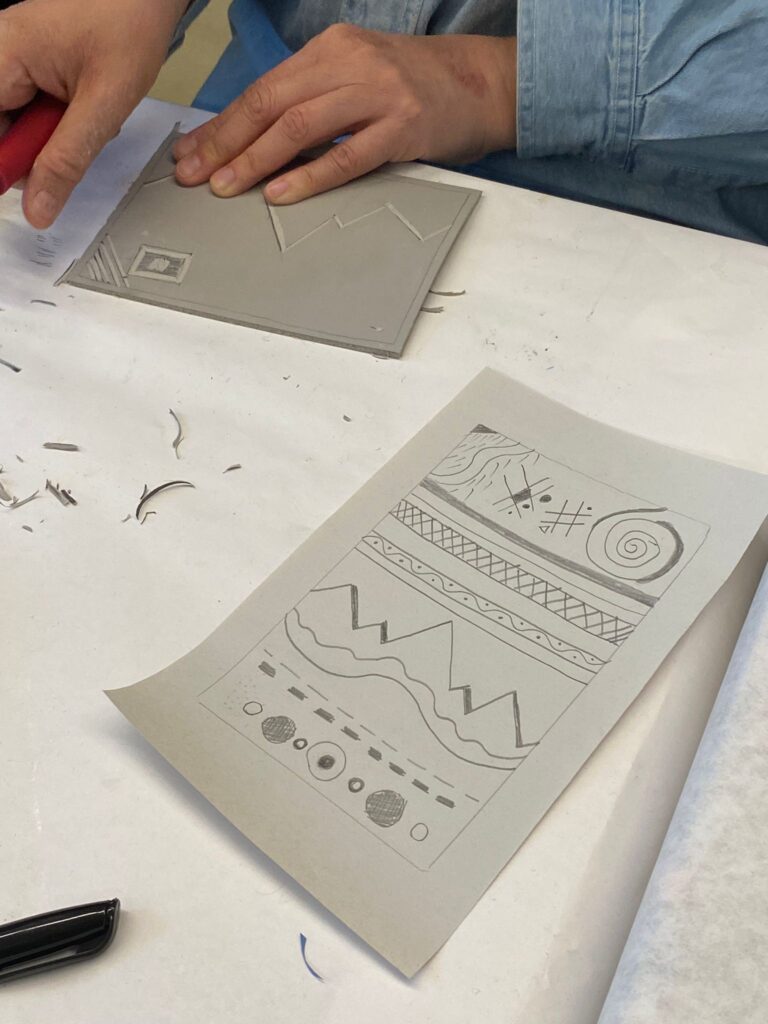
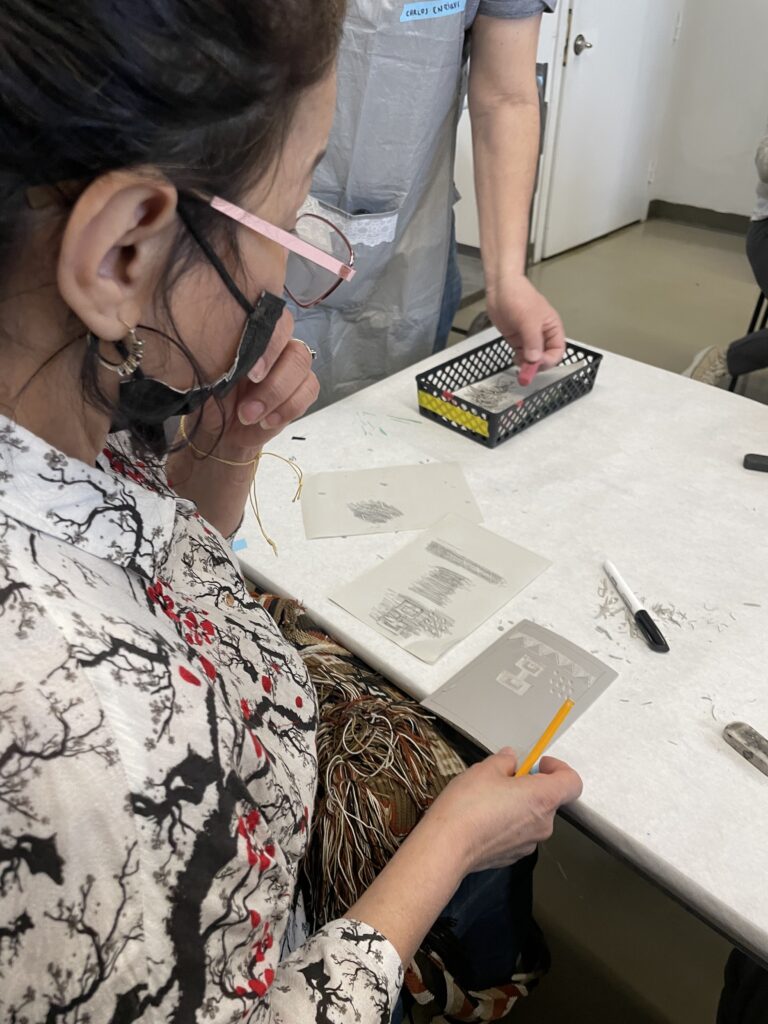
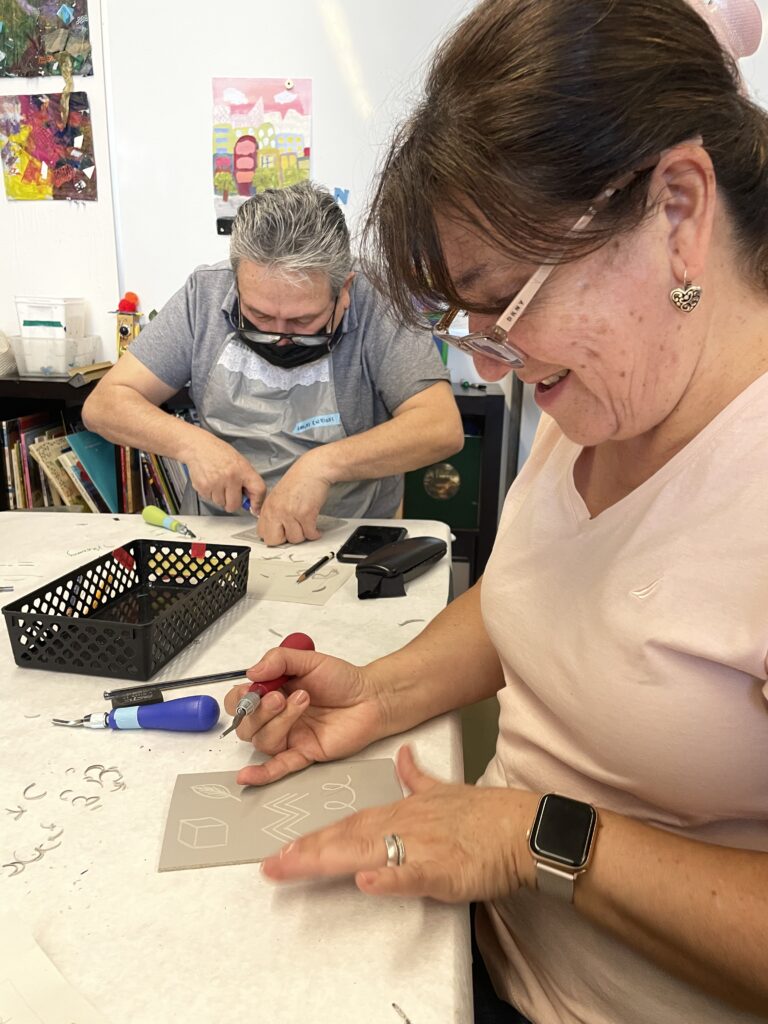
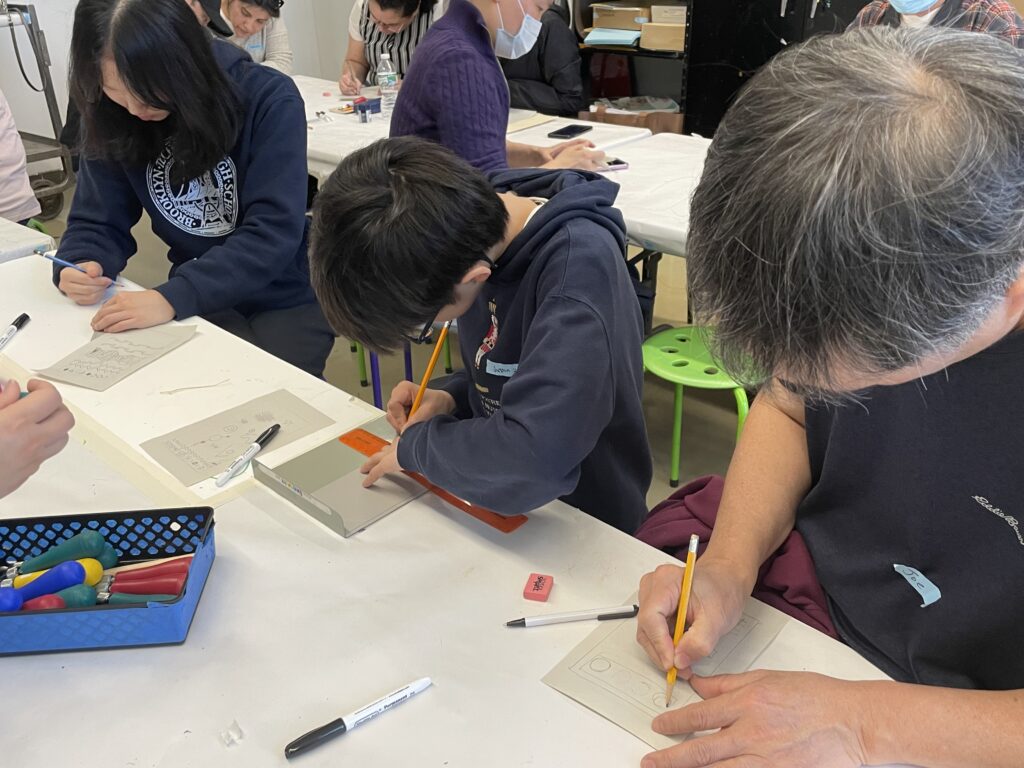
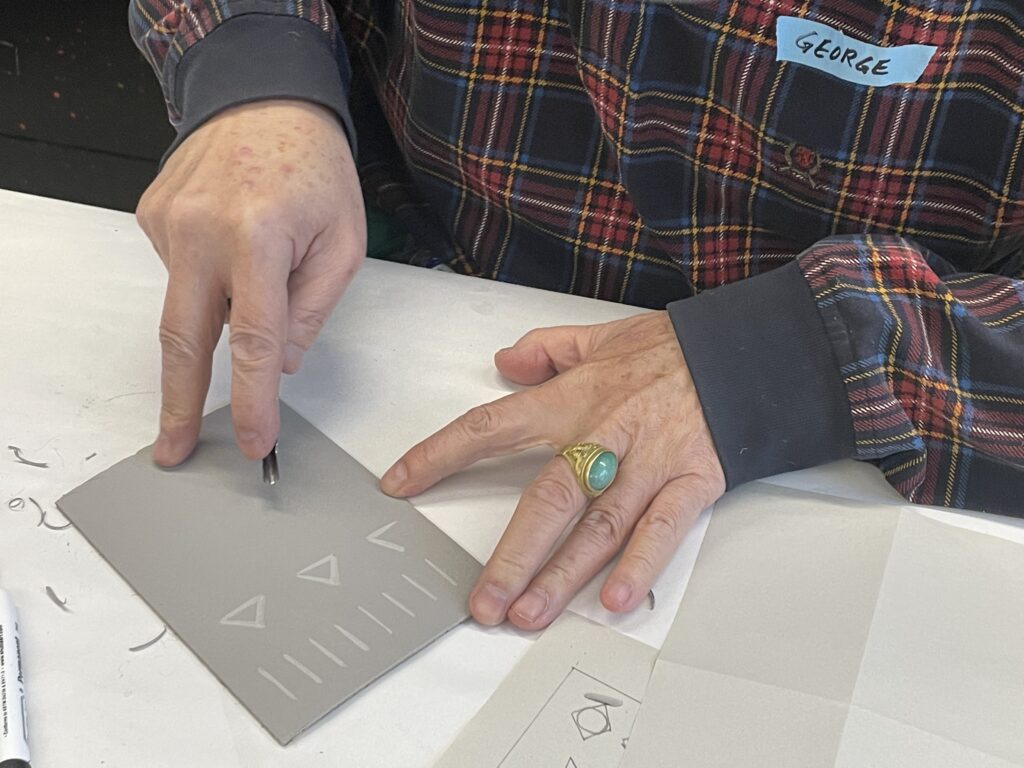
Finally, we started by just getting familiar with the new material and tools. Our goal was to make marks keeping in mind that the parts of linoleum that we remove are the ones that will be white and the rest will be black (when inking and printing).
Mark making suggestions:
- Straight lines – Fine and Thick
- Cross-hatching – parallel lines close to one another
- Circles –some that are filled in, others just outlined
- Geometric shapes
- Patterns – Look around you: What patterns can you see?
- Fur-like marks
- Symbols
- Dots and Dashes
- Wavy lines
Michelle kept reminding us of the fact that we were creating a mirror image.
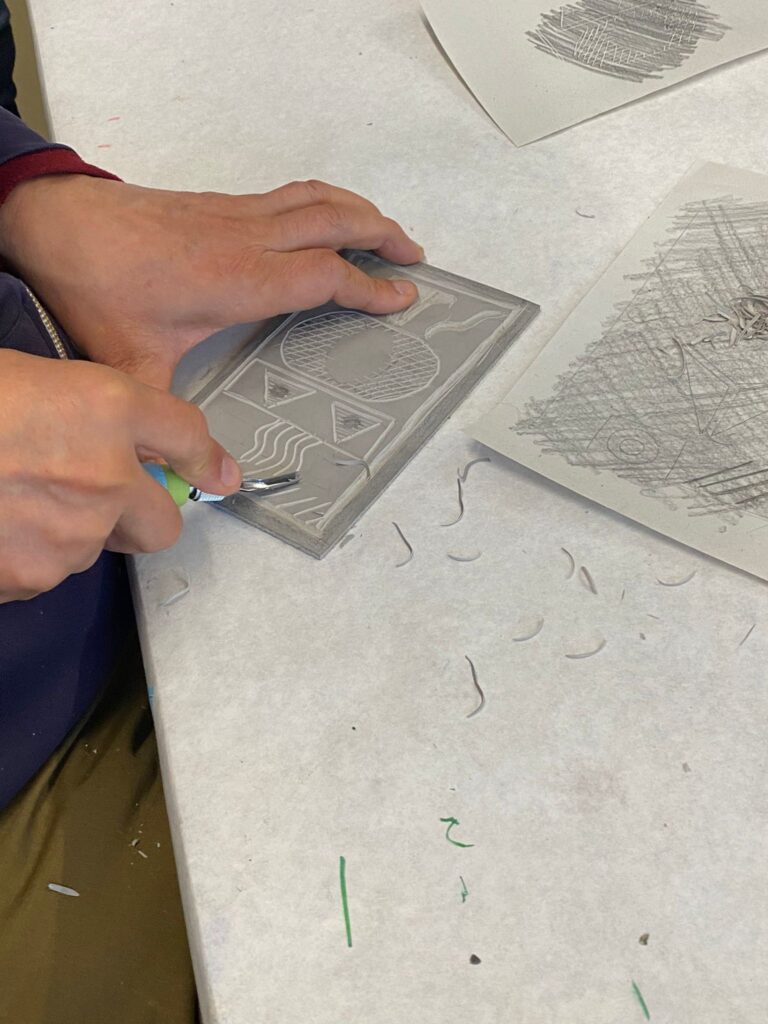
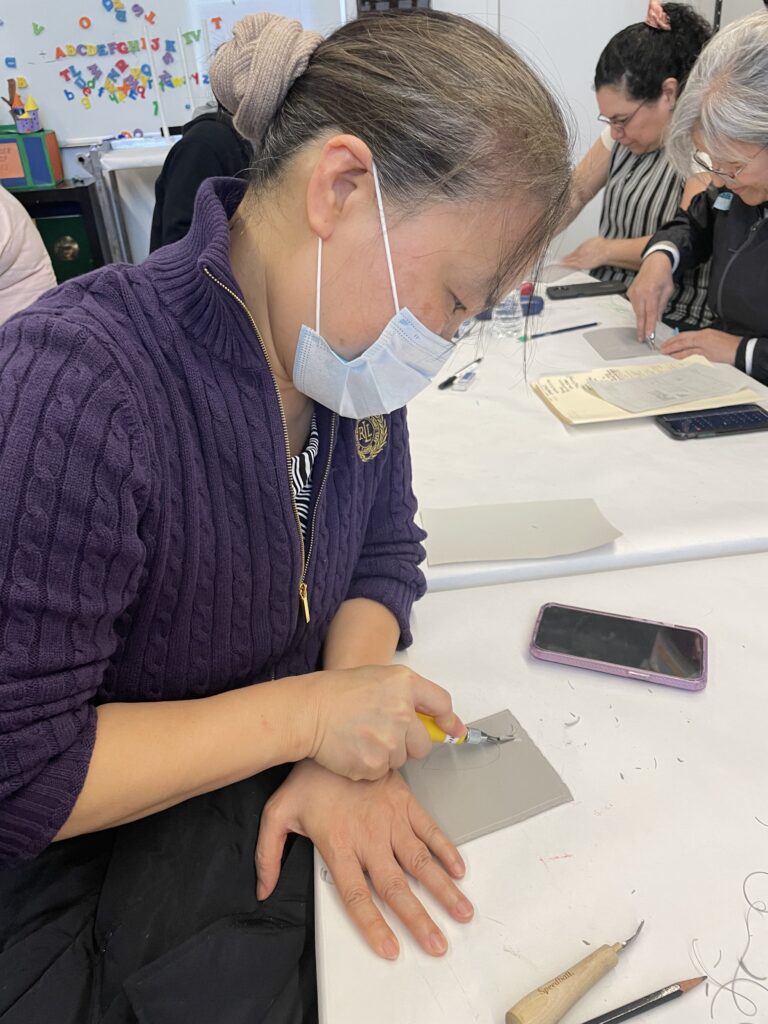
Everybody was engaged the entire class. By the end of the class, we saw fabulous marks.
We realized how hard it is to get used to the new material and tools and that if we do not take breaks often, we will get hand sore from carving with the linoleum cutters.
Spanish / Español
El Domingo, nos reunimos una vez mas para ¡imprimir! Todos estábamos emocionados. Nuestra instructora nos mostró unos ejemplo de Xilografías y Linóleos de Pablo Picasso, Edward Munch y Albrecht Durero entre otros.
Después, Michelle hizo una demostracion de cómo tallar en planchas de linóleo. Debido a que trabajábamos con herramientas afiladas sobre una superficie dura, debemos tener mucho cuidado al usarlas.
Finalmente comenzamos un ejercicio sencillo para familiarizárnos con el material y las herramientas. Nuestro objetivo era hacer marcas teniendo en cuenta que las partes de linóleo que quitamos son las que quedará en blanco y el resto quedará negro al momento de entintar e imprimir.
Marcas sugeridas:
• Líneas Rectas – Finas y Gruesas
• Sombreado cruzado: líneas paralelas cercanas entre sí
• Círculos: algunos llenos, otros simplemente delineados
• Formas geométricas
• Patrones – Mira a tu alrededor: ¿Qué patrones puedes ver?
• Marcas parecidas a la piel o pelo de animals
• Símbolos
• Puntos y rayas
• Líneas onduladas
Michelle insistió en el hecho de que estamos creando imágenes Espejo, es decir que a la hora de imprimir la imagen saldrá al revés.
Estuvimos muy concentrados toda la clase. Al final pudimos ver el resultado de nuestra concentración, marcas fabulosas.
Nos dimos cuenta de lo difícil que es acostumbrarse al nuevo materiales y a la herramienta. También notamos que si no tomamos descansos con frecuencia, nos dolerá la mano al tallar.
Text by artist educator/ Artista y educadora : Michelle Melo