In our first session of this workshop we tried to familiarize ourselves with the main materials we will be using in the course of the following weeks.
1. Watercolor Paints
Well, there’s no doubt that you’ll need watercolor paint. But what brand and what type you should use really becomes a personal choice. Let’s look at your options.
Watercolor is produced in two main forms: Tube or Cake (or Pan). All watercolor consists of pigment (color), a material such as gum arabic (binder), and water (solvent). Other materials are added to extend the paint.
Tube Paints
The watercolor paint found in tubes is thick. It can be squeezed out on a palette and thinned with water in order to apply translucent applications. When the tube paints dry, they can be reactivated just like cake or pan watercolors.
Tube paints are best for intense colors. The color is naturally more concentrated than the cake form of the paint. “Muddied” colors are less likely to occur with tube paints since contamination is less likely to occur. Mixing colors is a bit easier as well.
Cake (or Pan) Paints
Cake watercolors are concentrated blocks of pigment and binder. When water is added, the color becomes activated. Colors are lifted out of the pan and applied to the surface. In many situations, cake watercolors are preferred. If you are painting “on location”, or just “sketching”, cake watercolors are a perfect solution. They’re easy to maintain and use.
I recommend starting out with Winsor & Newton’s. The colors are strong and intense but won’t break the bank.
For cake watercolors, I love my Winsor & Newton artist watercolor field box set. It’s a little pricer, but the pans last quite a while.
2. Brushes
The brushes that you choose are also a personal decision. Many artists find a particular brand that they prefer. You’ll also find that particular brush types and shapes will produce different results that can be used for specific applications.
4. Masking Tape
For smaller paintings, masking tape can be used to adhere to and stretch watercolor paper on a rigid surface. For larger paintings, staples and a stronger tape (gummed paper tape) may be used
5. Watercolor Paper
The surface that you choose to work on is just as important as the brush and the paints. Watercolor paper is absorbent, allowing for multiple applications of washes without much buckling. Watercolor papers are quite varied, but there are three main forms. Each form of watercolor paper is categorized according to its manufacturing process and the weight of the paper.
Typically, watercolor papers are available in three different weights:
-90 lb (180 gsm) – Thick enough to absorb wet applications.
-140 lb (300 gsm) – Thicker paper capable of absorbing multiple applications with little buckling.
-300 lb (640 gsm) – Very thick paper capable of absorbing multiple applications without any buckling.
Usually, heavier weights of paper are more expensive and are considered of higher quality.
6. Support Panel
Most artists prefer to adhere to watercolor paper to support. This can be any type of rigid surface that will provide a heavy backing and which the watercolor paper can adhere. I prefer to use a masonite panel for this. Masonite can be picked up at any local hardware store and is usually inexpensive.
When support is used, the work can be propped on an easel. For those that prefer to work on a flat surface, a support panel allows you to lift and tilt the painting, directing the wet paint to flow into desired areas on the surface.
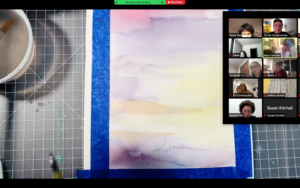
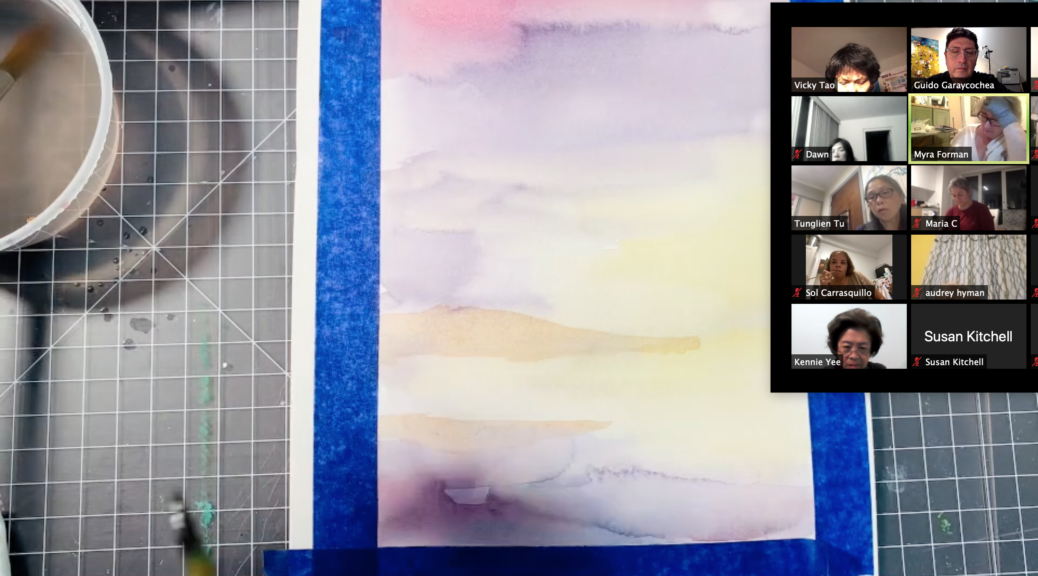
After this introduction of materials, we move on to our first practical exercise. Wet on wet.
Here is the link to our first video:
https://www.facebook.com/newnewyorkers/videos/476213410411719
See you all next week!
Thank you!